


There is also a wonderful miniature version by PhillipNuveen (Etsy shop) that is very reasonably priced.
But I wanted to make my own. I have been experimenting with the LED bulbs trying to adapt them to dollhouse lamps. You can see some of my earlier blogs with tutorials using LED bulbs here:
https://kendrasminis.blogspot.com/2020/09/tiny-house-light-fixtures-pendants-from.html
https://kendrasminis.blogspot.com/2019/08/artichoke-sconces-tutorial-adapting.html
This was an easier project because the 3 Volt bulbs have very thin wires with no lumps. Bulbs tht have been modified for use with 12 volt dollhouse systems or 9 volt batteries are protected by way of a lumpy resistor embedded in the wires. That resistor makes it hard to hide the wires or thread them through brass tubing or beads.
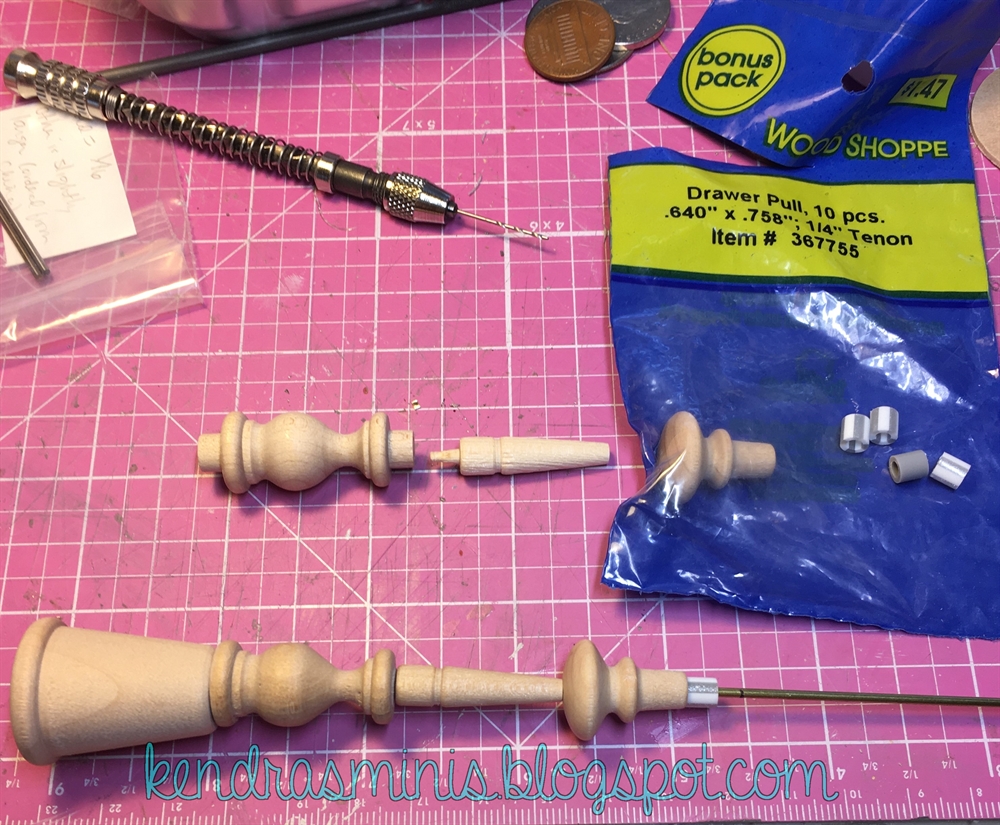
Following is how I made the lamp from mostly wooden turned craft parts. Except for the furniture leg, these were probably purchased at Michael’s or Hobby Lobby. The furniture leg was in a bunch of wood parts I bought at an estate sale so I don’t know the brand. I made this lamp so that the bulb would be removable (even though they have a really long life).
Supplies – Lamp Base (wood parts):
Wooden thimble
Wooden turned spindle piece
Furniture leg
Drawer pull
Flat wooden circle, a little bigger than the thimble
piece of scrap wood 1/16th thick or so small enough to fit inside the thimble
Other parts and supplies:
1/16th inch brass tubing, the length of the finished lamp
3/32 inch clear acrylic tubing, few inches long (should fit over the brass tube)
LED bulb – I used “Mega” warm white 3 volt from Evan Designs
Scrap of aluminum tubing that fits over the brass tube and inside the clear tube
Spray paint, blue painter’s tape
Drill press to drill hole vertically through the wood pieces before assembly
drill bit the size of the brass tube
Razor saw and miter box to cut clear tube
Wire cutters
glue
 |
| Wooden Parts assembled |
To make the lamp base – Look at the photo for the order of the parts (thimble on bottom, finial, furniture leg, drawer pull). I had to drill through each piece to allow for a piece of brass tubing. I used a drill press since it had to be very straight and centered (you can see on the finished lamp some pieces were not perfectly centered). This was hardest on the thin furniture leg. Cut the brass tube a little longer than your base. I used an X-acto knife and cut mine about 4 inches long. Thread the brass tube through the pieces and let it stick out a little the top. The thin brass tubing served two purposes: 1) sturdiness in holding the parts straight and together and 2) conduit for the bulb wire.
I also used a wood circle shape and piece of scrap wood for the bottom. I cut the scrap to just fit inside the thimble. I filed a small channel into the thimble and the scrap wood where it fits into the thimble for the wire to come out and so the bulb could be entirely removed and replaced.
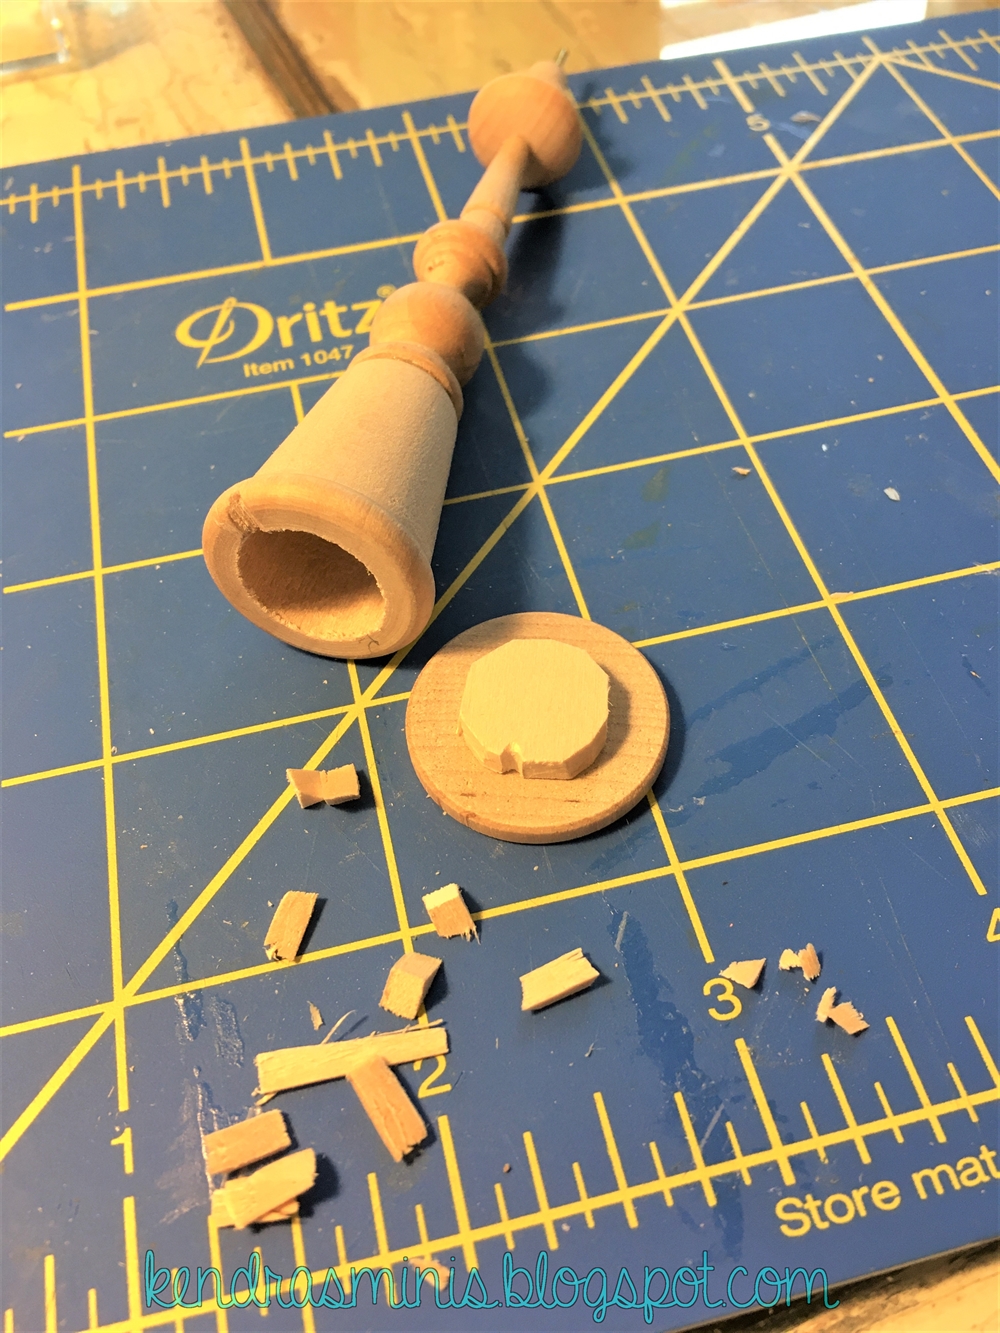

Glue the wood pieces together EXCEPT the very bottom circle, and spray paint. Let dry.
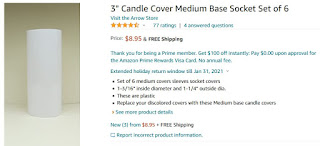
For the lampshade: white plastic candle socket cover (for of a full size chandelier), 1-1/4 inch diameter, Amazon). Jewelry finding – cross shaped finding that is about 1.5 inches in diameter (JAR-JAF Item #1391 or #65 depending on the size of your lampshade).

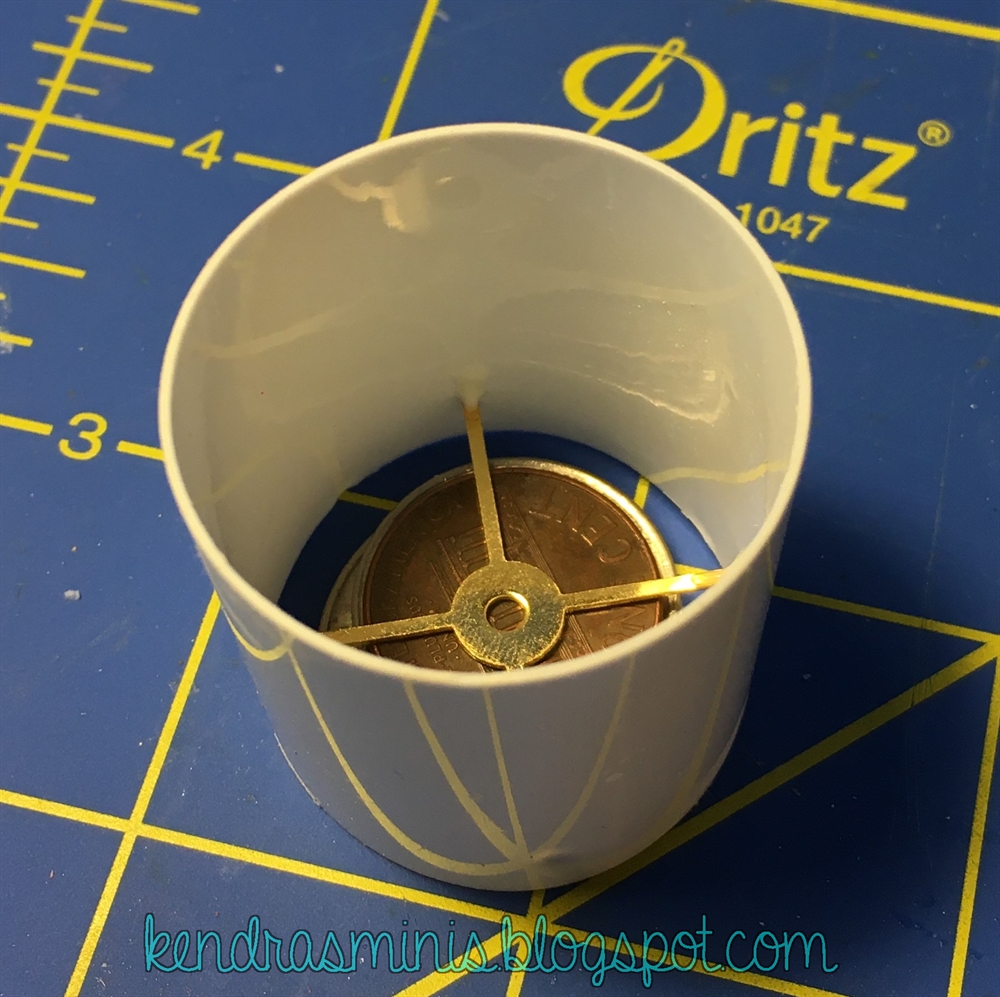
Cut the white candle socket with scissors to the size you want for the lampshade. You can sand the cut edges to smooth them and square them. Cut off the outer loops of the cross shaped finding with wire cutters so that it just fits inside the lampshade. Use a stack of coins as a spacer between the cross piece and the work board. This will also keep the cross piece level. Glue the four “spokes” with white glue.

Hold your lampshade to your lamp to determine the length of clear tubing you will need. Cut the clear tubing to reach between the top of the lamp base and the lampshade cross shaped piece. Size depends on the size of your lampshade. This will just be to support the shade and keep it straight. Make sure the top and bottom where tubing was cut off is perfectly square so that the shade will sit level (use miter box). If necessary, use some sandpaper to smooth. Drill a hole in one side near the center. The bulb will just sit next to the tube as in the photo below. Thread the wire through the clear tube then down through the brass tube. I had to also use a scrap of aluminum tube as a spacer since the clear tube was too big for the brass tube and would have wobbled.

For the lamp shade finial – a white glass head pin, silver 2.5mm crimp tube and a piece of tubing or clear acetate rod (or Q-tip tube?), about 1/16th inch thick or plastic that will fit through the center hole of the jewelry finding and down inside the clear acetate tubing. The finial makes the shade removable so you can get to the bulb in case it needs to be replaced.


Here is the lamp when lit. You can see that the "mega" type LED bulb from Evan Designs is very bright.

Fantástico tutorial, la lámpara te ha quedado genial!
ReplyDeleteBesos.
Thank you, Pilar, for keeping up with my blog and your nice comments! I appreciate the time you take to comment.
DeleteKendra
Hello Kendra,
ReplyDeleteA very useful tutorial and a lovely lamp! you make great use of exististing parts. The result is very sulptural and modern. I like it a lot.
Huibrecht
Thank you, Huibrecht. So glad you like it. Kendra
Deletethank you so much
ReplyDeleteNodame, you are very welcome!
DeleteThank you, The lamp is beautiful!
ReplyDeleteHugs, Drora
Thank you, Drora, for always reading my blog and taking the time to comment!
DeleteKendra
Thank you for the lamp tutorial. The basic construction can be altered to suit many different styles and is quite timely as I plan to make a floor lamp soon.
ReplyDeleteGood luck, Sherrill, and thanks for reading my blog!
DeleteKendra
Precioso trabajo y un gran tutorial.
ReplyDeleteExtremely decent post I simply unearthed your weblog and wished to say that I have genuinely delighted in searching your weblog posts.
ReplyDeleteThank you, Askari for your thoughtful comments!
DeleteHi, could you tell me where I can purchase the cross-shaped jewellery findings please?
ReplyDeleteDharpo - I purchased the cross shaped findings from Jar-Jaf miniatures but I see they no longer have the online ordering. Here is what their website says: "...contact Judy via email at jandraka@jar-jaf.com or call 570-995-1527". If you can't get ahold of them, try searching for "spoke findings" on Etsy. There are many options, most with 6 or more spokes but they would work also. Good luck! Kendra
ReplyDelete