It’s been a long time since I’ve updated this. The stall has been completed and was exhibited at Texas Miniature Showcase in Dallas, May 2013. Here are some more photos and “How-tos” for some of the decorations.
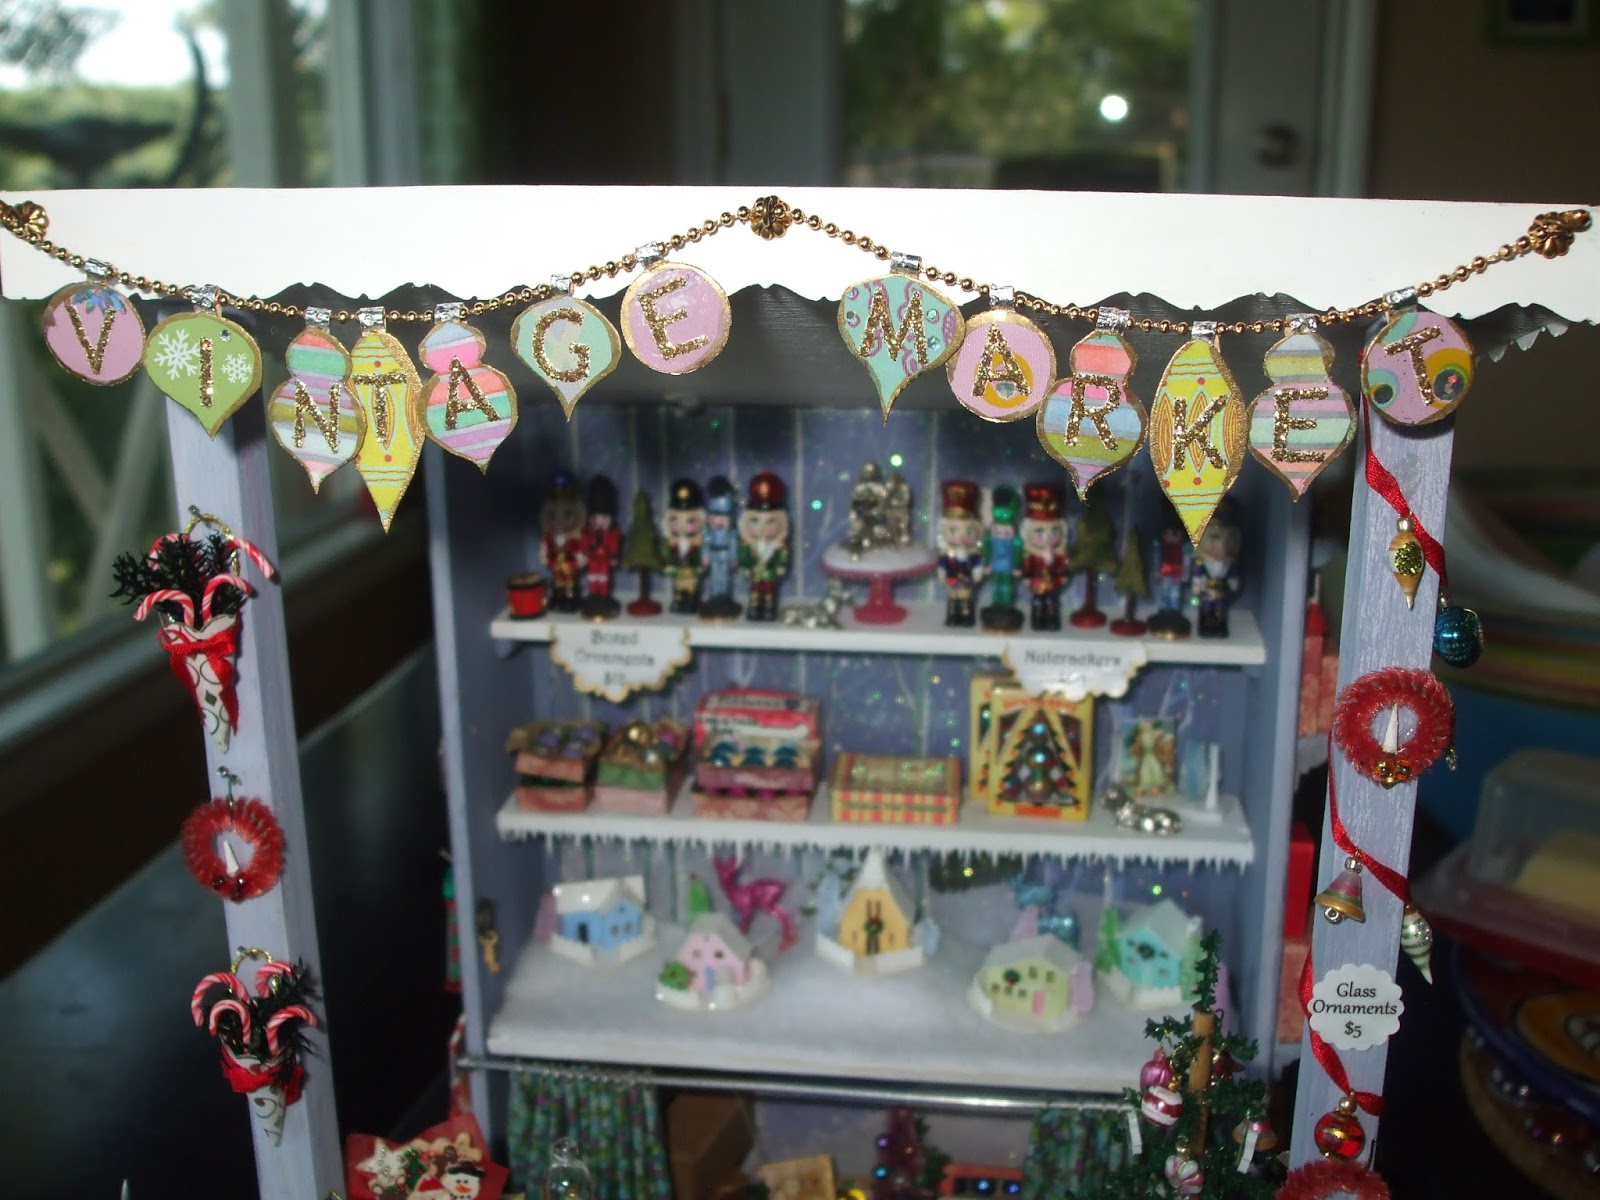
I needed a sign for my market stall. I wanted something that didn’t look manufactured (like it came from those ‘Dept 56’ Christmas Villages). I decided on a hanging garland of vintage looking ornaments – just card cutouts.
Most of the supplies used: index card, scraps of Christmas wrap, some tiny gold bead garland (you can find this on Ebay), gold scrapbook letters, snowflake nail stickers, a half inch circle paper punch. Plus your basic tools (scissors, X-acto knife, Crafter’s Ultimate glue.
I sketched the shapes and sizes I wanted to use and compared them to the letter stickers to make sure the stickers would fit. I cut the shapes first out of a folded piece of paper as a pattern. I glued gift wrap to index card (on both sides). I then cut ornament shapes from the double sided index card. I used a small ½” paper punch for the round ornament. The others were cut using patterns.
I used tiny strips cut from silver paper doily on the tops of the ornaments to attach them to the beaded garland (also served as an ornament cap). When I attached the ornaments, I didn’t actually glue them to the garland, instead I glued the strip of silver to the back of the ornament. I wanted them to swing freely and to be able to adjust how close they were to each other.
To attach the letters, I had to use an X-acto to position them. I also had to darken the glitter letters a little because they didn’t show very well. I just used a little diluted brown paint.
I attached the sign (garland) by drilling small holes and threading the plastic bead
garland through eye pins pushed through a bead cap into the holes.
Finished Garland sign. Next time some of the candy!


No comments:
Post a Comment